

This post will walk through the steps to set up GitHub Actions to check the style and run the tests in a Go project. The article begins by adding a simple pull request template, which is one more way to help every developer on your team (now and in the future) stay on the same page.
For completeness, it is worth mentioning that there are other alternatives to GitHub: GitLab, BitBucket, and GitBucket are the most popular git platforms that manage version controlling. BitBucket even offers an equivalent and competing CI product called BitBucket Pipelines, in addition to the already mentioned Travis CI and Circle CI.
With such a vast ecosystem of developers tools, it may be difficult to make a choice on which one to use. The most important thing is to make the most out of whichever tool you happen to be using, and the majority of our projects at 8th Light use GitHub. So, let's dive into GitHub!
Pull Request Template
When a creator opens a pull request, they can add related comments or links that provide context to others about what the code does, and/or why it was written in this way. Or, as it always ends up happening in large teams, creators can choose not to add anything at all. In the long term, this creates a history of PRs that are hard to follow and read. Creating a PR template will motivate developers to write useful comments and descriptions by taking away the painstaking load of thinking again and again about what needs to be written.
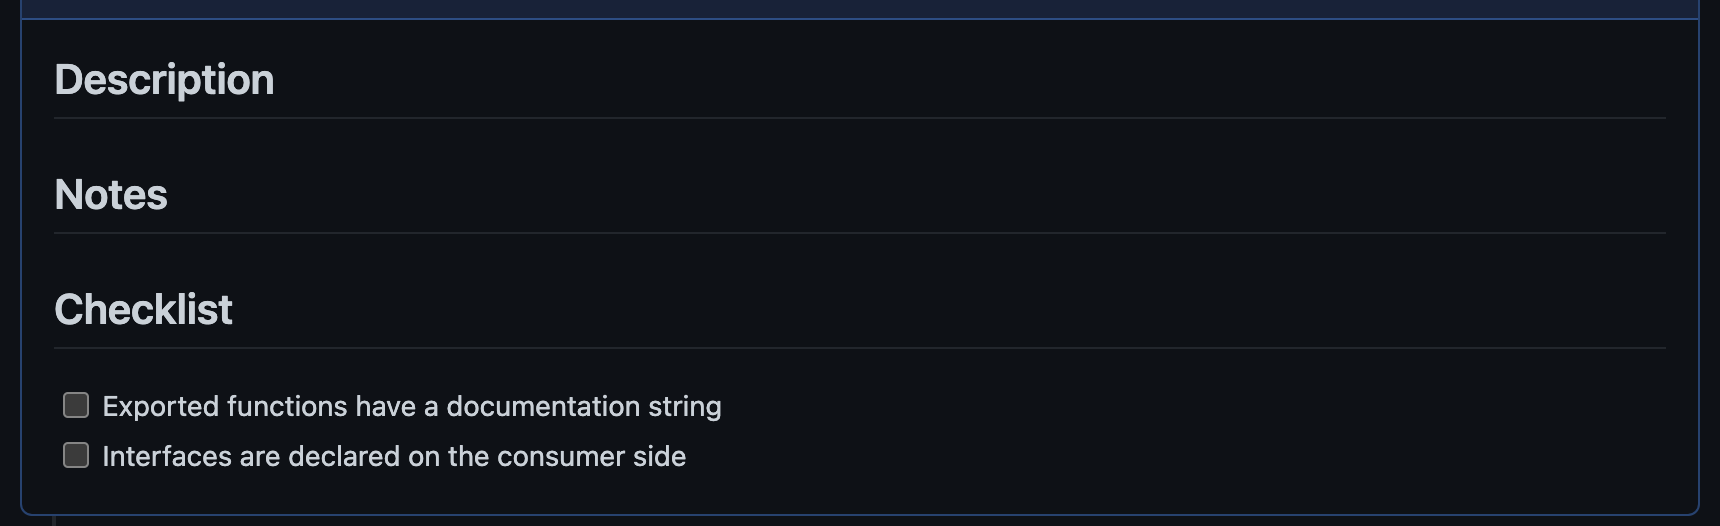
Create a .github/ folder in the project's root, and create a file pull_request_template.md inside it. Then, add placeholders for any broad and important questions that the team should know about new changes. For example, in my Golang project I created this template:
## Description

## Notes

## Checklist
- [ ] Exported functions have a documentation string
- [ ] Interfaces are declared on the consumer side
Now, every time there is a new PR, the creator can fill in the gaps and use this guardrail to be more efficient with their work. Try not to create a template that is too complex though, or it might end up being ignored altogether.
GitHub Actions
To enable GitHub Actions in your project, create another directory in the same level of the previous template named workflows, and add a file named go.yml. This is how the folder structure should look like:
root
│ README.md
│ ...
│
└───/.github
 │ pull_request_template.md
 └───/workflows
 │ go.yml
GitHub Actions is free for public repositories, and it has a certain amount of free time available for private ones. For completeness: TravisCI has a 30-day free trial and CircleCI offers up to 6,000 build minutes per month in its free tier.
We want two basic workflows for our CI pipeline: (1) Lint check and (2) Run tests. It is a good idea to run both jobs in parallel; that way we allow both of them to fail at the same time, reducing the feedback loop. If they were run sequentially — as in, first the linter and then the tests — not only would we need to wait for the linter to finish before we get a complete test run; but if it fails, we would need to solve its errors before we could check whether the tests passed.
To get started, we need to define when the workflow is going to be executed. We want everything to execute both when opening a pull request that compares against the main branch, and when pushing a commit to the main branch (i.e. when merging such PR). This might be repetitive, so you might delete the push section if you configure your repo to protect pushing directly to the main branch.
# go.yml
name: Quality pipeline

on:
		push:
				branches:
						- main
		pull_request:
				branches:
						- main
Now let's create the lint job. Fortunately, golangci-lint provides a GitHub Action that we can use directly in our workflow. If this wasn't the case, we would need to install it in the workflow and run it manually.
# go.yml

# on:
# [...]

jobs:
		lint:
				name: Lint
				runs-on: ubuntu-20.04 # It is generally better to use a specific version
				steps:
						- name: Install go
								uses: actions/setup-go@v3
								with:
										go-version-file: './go.mod'
						- name: Check out repository code
								uses: actions/checkout@v3
						- name: Lint check with golangci-lint
								uses: golangci/golangci-lint-action@v3
								with:
										# Optional: version of golangci-lint to use. Check
										version: v1.29
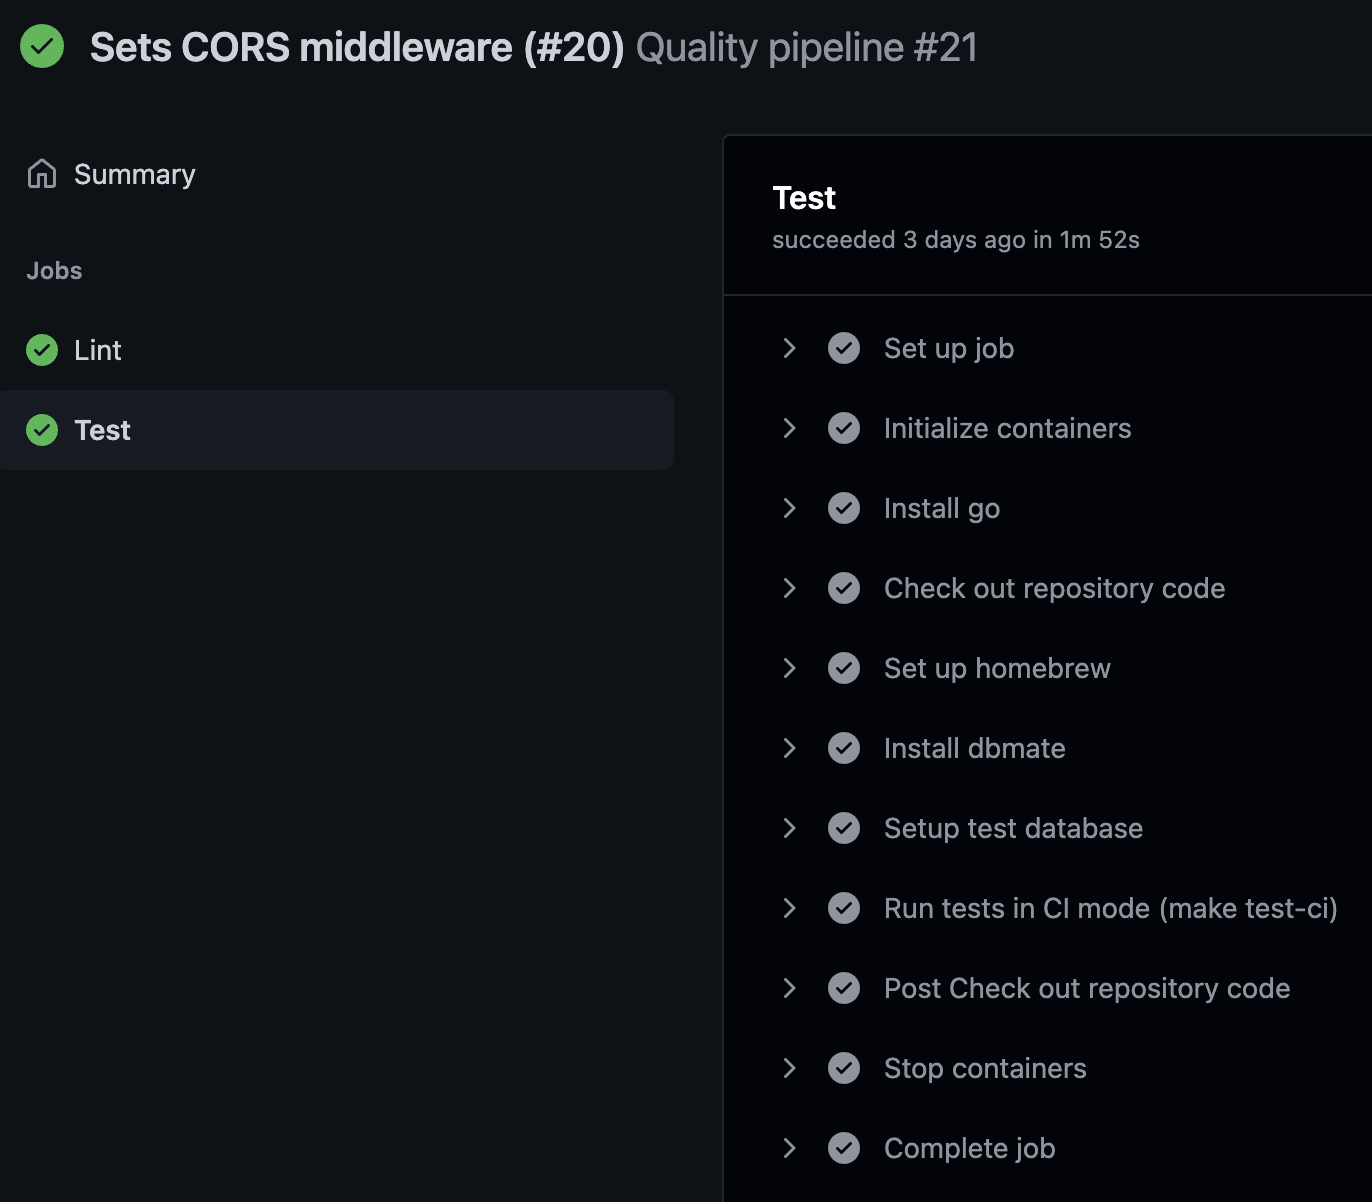
The test job can be a bit more complex. Let us assume your project uses a Postgres database and the tests access it by reading an environment variable called DATABASE_URL_TEST. Let us also assume that you are using dbmate to handle the migrations. If you are not familiar with dbmate, it is sufficient to know that it can receive a database URL to apply the migrations existing in the project.
We first need to create the test database using the Postgres service. Because the tests connect to the DATABASE_URL_TEST environment variable, then we needed to set that one too. Only afterward can we execute the tests.
When the database is created, it will need to have an updated schema. In order to do that, we need to install dbmate in the workflow, for which we need to install brew first.
# go.yml

# on:
# [...]

jobs:
		# lint:
		# [...] (all the lint job goes here)
		test: # on the same indentation level as `lint` so it runs in parallel
				name: Test
				runs-on: ubuntu-20.04
				env:
						TESTING_PARALLEL_ENABLED: true
						GO111MODULE: on
						GOFLAGS: -mod=readonly
				# The DATABASE_URL_TEST variable will be used in two steps:
				# Migrating the database and running the tests, so it need to be
				# set in the job level.
				DATABASE_URL_TEST: postgres://ciUser:ciPasswd@localhost:5432/my_ci_db?sslmode=disable
				services:
						postgres: # The database is created here
								image: postgres:latest
								env:
										POSTGRES_DB: my_ci_db # same name as in the database URL
										POSTGRES_USER: ciUser # same user as in the database URL
										POSTGRES_PASSWORD: ciPasswd # same password as in the database URL
								ports:
										- 5432:5432 # It uses docker to expose the postgres service
								# Set health checks to wait until postgres has started
								options:
										--health-cmd pg_isready
										--health-interval 10s
										--health-timeout 5s
										--health-retries 5
				steps:
						- name: Install go
								uses: actions/setup-go@v3
								with:
										go-version: 1.16
						- name: Check out repository code
								uses: actions/checkout@v3
						- name: Set up homebrew # Install brew so that we can install dbmate
								uses: 'Homebrew/actions/setup-homebrew@master'
						- name: Install dbmate
								run: brew install dbmate # Will install the latest version, which may introduce breaking changes!
						- name: Setup test database
								run: dbmate --wait --no-dump-schema -u $DATABASE_URL_TEST up
						- name: run tests in CI mode
								run: go test -v ./...
This configuration should allow you to be up and running with your CI pipeline in Go, using GitHub Actions!
Wrapping Up
Setting up a new project is often reserved for early-stage developers, and that prevents the rest of us from constantly relearning how it is done, and thus improving it as well. This blog post gave a glimpse into how to set up a solution to your CI needs in Golang that, although very basic, is robust enough for your CI needs with GitHub Actions.


